Introduction
Vlogging isn’t shiny and new anymore, but it hasn’t slowed down either. Despite changing social algorithms, the rise of AI, and shifting viewer habits, vlogging has stayed strong by adapting. Creators have kept their edge by staying creative, nimble, and grounded in authenticity. Audiences still gravitate toward real voices in a sea of polished noise.
What’s different in 2024 is how the platforms are making creators work for attention. Algorithms are getting smarter, not just favoring flashy thumbnails but locking in on watch time, retention, and real-time reactions. The rise of niche communities and micro-trends means generic content drowns. To stay relevant, vloggers need to be intentional about who they’re speaking to and why.
The game hasn’t ended. It just leveled up. And those who pay attention to the shifts—while still showing up consistently—have the best chance to thrive.
Whether you’re vlogging from a desk, car, trail, or gaming chair, the right gear makes a difference. Laptops are doing most of the heavy lifting for creators today—from editing 4K footage to live-streaming to handling complex AI tools. But choosing one isn’t just about power. It’s about finding a machine that matches your workflow.
If you’re gaming and vlogging, look for GPUs that can handle frame-heavy content. Streamers often favor laptops with strong CPUs and enough RAM to keep things smooth while recording and interacting with chat. For pure productivity—scripting, scheduling, uploading—many can get away with midrange specs. But if you’re in editing or rendering often, especially in 4K, go for a laptop with solid graphics, fast SSD storage, and sharp color-accurate displays.
Budget matters too. Entry-level ($500-$800) gets you basic tools, good for scripting and light editing. Midrange ($800-$1500) steps it up for semi-pro editing and occasional gaming. Over $1500 is where you’ll get the firepower—dedicated GPUs, higher refresh screens, and more memory.
Lastly, looks count. Some vloggers care about a clean aesthetic for their desk setup or on-camera presence. Others just want raw power under the hood. Either way, it’s about knowing what you actually need—and not overspending on things that won’t move the needle.
Build It Right: Your First PC Build Checklist
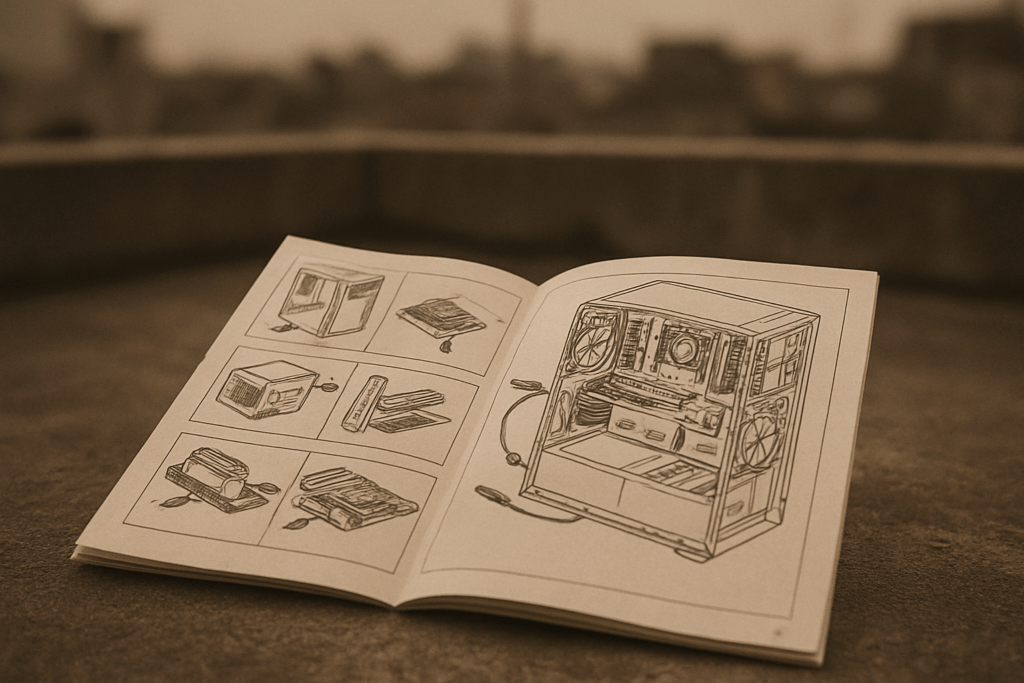
Building your own PC can feel intimidating at first, but a solid step-by-step approach can save you time and prevent costly mistakes.
Prep Work: Avoid Static Surprises
Start by grounding yourself properly. Static electricity can damage components, so it’s important to work on a non-carpeted surface and use an anti-static wrist strap if possible.
- Avoid building on carpet
- Touch a grounded metal object before handling components
- Use an anti-static mat or strap if available
Assemble Core Components First
Before placing the motherboard in your case, install essential components:
- Install CPU into the socket, aligning the pins correctly
- Add RAM into the appropriate memory slots
- Attach the CPU cooler securely, making sure thermal paste is applied if it’s not pre-applied
This saves space and makes installation much easier while the motherboard is still outside the case.
Position the Motherboard + Power It Up
Once the key components are secured:
- Place the I/O shield into the case first
- Carefully mount the motherboard into the case using included standoffs
- Connect the power supply unit (PSU) to the motherboard
- 24-pin ATX connector
- 8-pin CPU power connector
Make sure all screws are snug but not overly tight.
Install Remaining Hardware
With the main structure now in place, add the rest of your components:
- GPU (graphics card) in the appropriate PCIe slot
- Storage drives (SSD or HDD) into their mounting bays
- Case fans for airflow and cooling optimization
Smart Cable Management
Clean cables make airflow better and maintenance easier. But don’t get stuck chasing perfection.
- Route cables through case grommets and tie them down with Velcro or zip ties
- Focus on keeping cables clear of fans and airflow paths
- Prioritize functionality over perfect aesthetics if you’re tight on time
First Boot Checklist
Double-check everything before powering on your system for the first time:
- All cables securely plugged in (especially CPU and GPU power)
- RAM and GPU properly seated
- Monitor, keyboard, and mouse connected
- Boot screen appears and enters BIOS
If your screen stays blank, don’t panic—check components one by one, starting with power connections, then RAM and GPU.
Getting it right on the first try is satisfying, but even small hiccups are part of the learning experience.
Building or upgrading a vlogging setup? Let’s break down what really matters inside your PC without wasting words.
CPU (Processor) is the brain. It handles editing software, encodes video, runs your browser, and generally keeps your system alive. Go for strong cores and high clock speeds—Intel i7 or Ryzen 7 and up if you’re in heavy workflow territory.
GPU (Graphics Card) powers your previews, renders, and any visual polish you throw at it. Essential for gaming footage and creative tasks like motion graphics. A solid NVIDIA RTX or AMD Radeon means your videos don’t choke in post.
Motherboard is the baseplate. It connects everything: CPU, GPU, RAM, and drives. Look for reliability, enough ports, and room to grow. Cheap boards will bottleneck good parts.
RAM (Memory) keeps your system from freezing mid-edit. 16GB is the baseline. 32GB or more if you juggle big files or multitask like a maniac.
Storage is where your clips and edits live. SSDs are fast—use one for boot and active projects. HDDs are slow but cheap for long-term storage. A smart combo keeps things smooth.
Power Supply Unit (PSU) doesn’t show off, but it’s mission-critical. Get one with enough watts and a reliable brand. Don’t cheap out—it can fry your gear or throttle performance.
PC Case isn’t only about looks. Good airflow beats RGB bling. Cooler temps mean quieter workflow and longer part life. Bonus if you can route cables without cursing.
Extras like cooling systems, extra case fans, Wi-Fi cards, and optional RGB can push things over the top. Not essential unless your temps or needs demand it, but they give polish.
Every part matters, but smart spending upfront saves headaches later. Build a rig that matches your content goals, not just your budget.
Building a solid vlogging setup starts with getting the basics right, and that means choosing compatible hardware. Don’t guess. Use trusted tools like PCPartPicker to double-check every component before you hit purchase. It flags compatibility issues early, saving time, money, and headaches.
Know your socket types—what works for AMD won’t fit Intel. Understand wattage limits and make sure your PSU can handle your GPU and any future upgrades. Pay attention to form factor too. Just because a case looks sleek doesn’t mean it fits your motherboard.
Also, don’t build yourself into a corner. Think long term. Pick a motherboard that supports more RAM than you need now. Leave room for another SSD later. Give yourself room to grow with evolving editing needs. Planning ahead means you won’t have to tear it all down in six months when you need more power.
Getting your system up and running starts at the BIOS. That’s where you set the basics that make everything else smoother later. First thing, fan curves. Stock settings are usually loud or inefficient. Adjust them to balance noise and temps. Next, boot priority. If you’re installing an OS via USB, make sure your drive is at the top. And don’t forget XMP. You paid for fast RAM, enable the profile so it actually runs at its rated speeds.
With BIOS dialed in, it’s time to install your OS. Whether it’s Windows or Linux, loading from USB is the easiest path. Tools like Rufus or BalenaEtcher help you prep the drive. Plug it in, boot the machine, and follow the installer steps. Keep it simple—no need to dual boot unless you have a real reason.
After install, drivers are non-negotiable. Your GPU, chipset, and network drivers need to be current unless you like crashes and slowdowns. Head to the manufacturer’s site—don’t rely on stock Windows drivers alone. Finally, run all system updates. It’s thankless, but it’ll save you hours of headache down the line.
Whether you’re editing in DaVinci Resolve or uploading a fresh vlog on YouTube, keeping your setup safe and smooth matters. First up, clean your PC. Dust buildup traps heat, and heat kills performance. A quick blast of compressed air every few weeks goes a long way.
Next, power surges. One bad spike and your expensive rig can fry. A basic surge protector isn’t enough — go for one with proper joule ratings and built-in diagnostics.
Lastly, don’t overlook your home network. Vloggers store and upload sensitive, high-volume content. If your Wi-Fi isn’t secure, neither is your channel. Lock it down with strong passwords, firmware updates, and device reach filtering.
Related read: Ultimate Guide to Securing Your Home Wi-Fi Network
Building a PC Is Easier Than You Think
Why You Should Consider Building Your Own
Many beginners shy away from building a PC, assuming it’s a complex or technical process. In reality, it’s more like assembling pieces of a puzzle than programming a machine. With the right resources, it’s surprisingly straightforward and rewarding.
DIY Doesn’t Mean Doing It Alone
You don’t have to become a tech wizard overnight. A huge community of gamers, creators, and hobbyists is out there, ready to help. Whether it’s troubleshooting compatibility or picking the best parts, you’re never far from practical advice.
Helpful resources include:
- Community forums like Tom’s Hardware and Reddit’s r/buildapc
- Step-by-step YouTube guides from trusted tech creators
- Online PC part pickers that ensure compatibility
Confidence Grows with Each Tweak
Once you’ve built your first PC, the intimidation factor disappears. Upgrading your RAM, swapping out your GPU, or adding more storage becomes routine rather than stressful.
Over time, you’ll gain:
- A sense of ownership and control over your setup
- The ability to troubleshoot and fix issues on your own
- Confidence to keep your rig optimized without outside help
Building your own PC not only saves money in many cases but also gives you insight into how your tools function. That knowledge becomes a long-term advantage as you continue to grow as a creator or gamer.
Building a PC can feel like snapping together LEGO until you realize half your pieces don’t fit. One of the biggest mistakes first-time builders make is buying incompatible parts. Maybe the CPU doesn’t match the motherboard socket, or the case won’t fit that massive GPU you scored on sale. Double-check specs. Triple-check compatibility. Use build guides and online part checkers before spending money.
Another often-overlooked cost? The operating system and peripherals. That fancy build won’t do much without Windows or Linux, and you still need a monitor, keyboard, and mouse. Budget for the full setup, not just the shiny insides.
Then there’s airflow. Some newcomers slap fans in at random or skip them entirely. Bad call. Poor airflow can cook your components and tank performance. Plan intake and exhaust, keep cables tidy, and make sure the case supports your cooling setup.
Lastly, rushing the build is a rookie move. If you’re new, slow is fast. Take your time, follow the manual, and don’t force anything. A calm two-hour build beats a frantic all-nighter with stripped screws and a dead motherboard. Patience pays off—in performance and peace of mind.